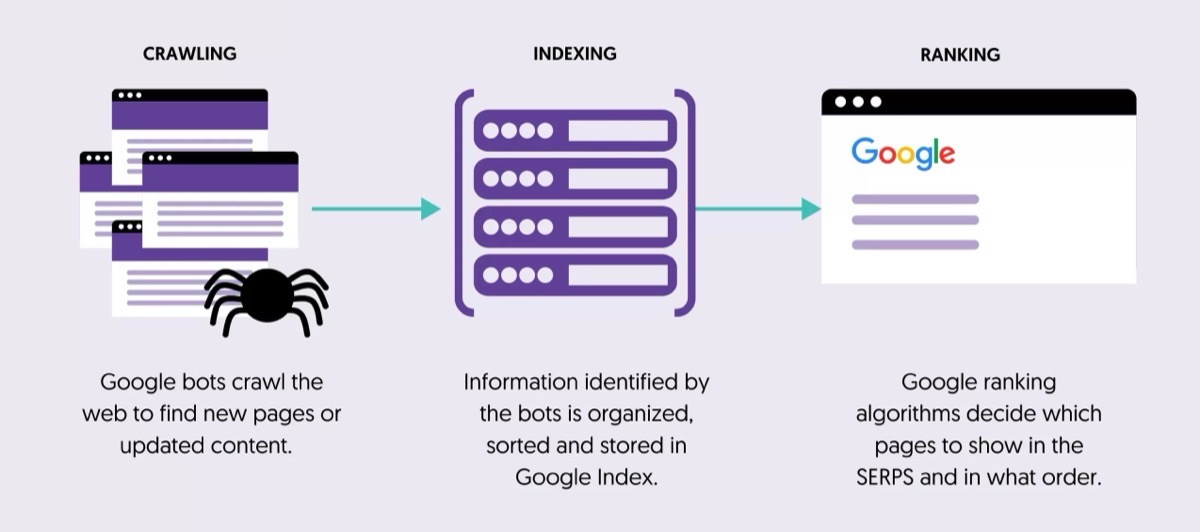
To get your Hugo website to show up in Google search results, you need to prove to Google that you own the website. You can do this using a free tool from Google called Google Search Console. This guide will show you how to do it.
The easiest way to do this is to upload a special HTML file from Google to your website. Here’s how to do it with Hugo.
Here’s a step-by-step guide:
- Create a “static” folder: If you don’t already have one, create a folder called
staticin the main folder of your Hugo project. - Put the Google file in the “static” folder: Google will give you a special HTML file to download. It will have a name like
googleXXXXXXXX.html. Put this file inside thestaticfolder. - Publish your website: Upload your website to the internet like you normally do (using a service like Netlify or GitHub Pages).
- Verify in Search Console: Once your website is online, go back to Google Search Console and choose the “HTML file” option to verify. Type in the web address of your verification file (for example,
https://yourwebsite.com/googleXXXXXXXX.html) and click “Verify.”
Important things to remember:
- Where to put the file: Make sure the Google file is directly inside the
staticfolder, not in any other folders inside it. - File name: If you have trouble with the
.htmlpart of the file name, try leaving it off (for example,https://yourwebsite.com/googleXXXXXXXX). Sometimes Hugo will handle this for you. - Your website’s theme: If you are using a theme for your website, make sure it’s not changing how the
staticfolder works. You can check the theme’s instructions to be sure. - Hugo version: If you are using an old version of Hugo, you might want to update it to the newest version. This can fix some problems with how files are shown on your website.